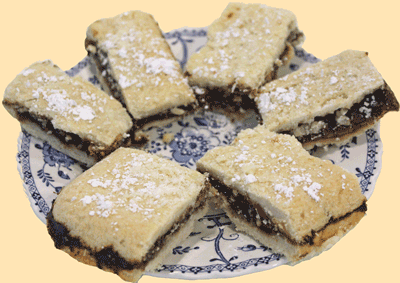
Delicious Date Slices
Date Slices- Egg-less,No Added Sugar
I have always loved eating dates, as a fruit, by itself, coated with chocolate and baked in a variety of ways. So date slices happens to be one of my favorites treats.
As a college student we walked passed Model Dairy, a cafe in Gardiner Street, Durban, South Africa, everyday. They had very tempting treats. On the rare occasions that we did splurge, I always chose the date slices.
I have tried making my version of them on a few occasions. Here is a recipe for the batch I made a few days ago. The only sugar that is used is a light sprinkling of icing sugar/confectioners sugar, on the top, for decorative purposes. This step is optional. The date are sweet enough and do not need any additional sugar.
For those who are on diets where sugar intake is not advised, please note that the dates do contain natural sugar. You should ask your doctor if dates are permissible for your health condition. Dates have many health benefits such as fiber, vitamins, anti-oxidants and potassium, amongst other, Benefits of Dates. Here is the recipe.
INGREDIENTS
Dough
- 2 cups flour
- 1½ sticks/187.5g butter at room temp.
- 2 tblsps. maizena/cornflour
- ¼ tsp. salt
- Up to 3 tblsps. water
Date Filling
- 250g/8 oz. dates
- ½-1 cup water
- ¼ tsp. salt
METHOD
Date Filling
- If you use a pack of dates that is fairly hard, break it up, then add a cup of water
- If you use fairly soft fresh dates, add ½ cup of water
- Add to a Microwave proof container and microwave dates and water for 2-3 minutes
- Check it at 1 minute intervals. You may need to stir contents or add more water
- The microwaved dates should be a soft thick mass. Add ¼ tsp. salt & mix. Keep aside to cool
Making the Dough
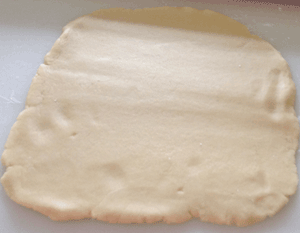
- Mix the dry ingredients
- Add butter and mix to form a dough. Add water, a tablespoon at a time to form a soft dough
- Divide dough into 2 equal portions
- Apply the used butter wraps to the bottom and side of a square 9"x9" oven proof dish
- Take 1 portion of dough and press it onto the bottom of dish
- Layer it with the soft cooled date mixture
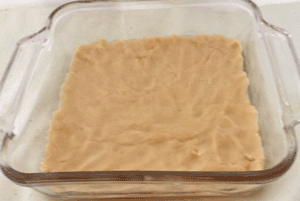
- Roll the other portion to size large enough to cover the date mix
- Pick it up gently and place it over the dates. You may need to adjust the edges. Smooth the best you can
- Bake at 400°F/200°C for 10 minutes, then lower to 375°F/190° for another 10-15 minutes
- The top should be between a cream to a light fawn color
- Remove from oven, then cover with a dishcloth and allow to cool. Slice and lightly sprinkle with icing sugar, (optional)
- Enjoy
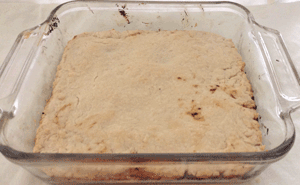
Date Slices just out of oven
Dough applied to base of baking pan
Dough rolled for upper layer
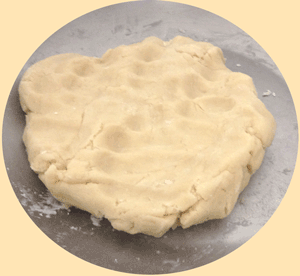
Ingredients mixed to form dough for date slices
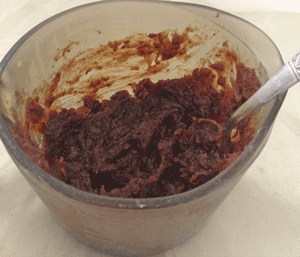
Date and Water Microwaved to form soft filling for Date Slices
If you have any questions or would like to add a recipe of your own, email me, Nirmala, at
pather@qualitylivingstyles.com
You may also reach me via the: Contact Form
Now quickly and easily navigate to your next destination.